I prayed for the pain to go away and slept through the night and when I woke up it was 7 a.m. ! My back was feeling much better!I had lost an hour due to daylight saving. We had moved our clocks an hour ahead 12.00 am. Sunday! The party was to begin at 12 p.m.! Well, I just prayed and set out working! I decided that I was going to try and make the cake as my daughter had her heart set on it and take it from there. I will make the pasta if there is time or else order pizza! I put the cake together, frosted it, put it in the fridge and when I was waiting for the frosting to set, made the pasta and start kneading the fondant. The hardest part was rolling the fondant out. I prayed that it would be enough to cove the cake and that it wouldn't tear! The guide for this cake was from the website: how to cook that.net.Ann had covered the whole doll with the fondant. As for me, I knew for sure I didn't have enough fondant to roll it that big and cover the cake. I decided to skip covering the doll and just cover the cake and then insert the doll. Well, needless to say, it did work, but I had to deal with cracks in the pleats of the dress. I have tried to hide the flaws of the dress with snowflakes placed strategically. Also, since my doll came with a plastic dress, I chose not to make the bodice for the doll. I used what the doll already had on. I also chose not to make the cape for Elsa for sheer lack of time. I didn't think that my daughter would care anyways! This is far from my best cake. There are hundreds of flaws in this cake. But the bottom line is that my daughter was super-thrilled and happy to see her dream cake and all her little friends loved it too.. They couldn't stop going "Elsa, Elsa"! That I believe is " MISSION ACCOMPLISHED"!

The cake was made up of chocolate fudge cake and sprinkle vanilla cake. I made two 9-inch cakes, one chocolate, one vanilla and the dome was made of chocolate fudge cake too and layered it .

Servings: 20-25
Ingredients:
For the chocolate fudge cake:
Boxed cake mixes: 2( I used Duncan Hines Chocolate Fudge Cake )
Eggs: 6
Water: 2 cups
Oil: 1 cup ( I used canola oil)
For the sprinkle vanilla cake:
Boxed cake mix: 1( I used Betty Crocker Funfetti Cake )
Eggs: 3
Water: 1cup
Oil: 1/2 cup ( I used canola oil)
For the buttercream icing:( to make 2 1/2 cups icing)
Confectioners Sugar: 4 cups
Butter : 1cup( at room temperature)
Vanilla essence: 1 1/2 tsp
Water/ Milk: 2 tbsp
For decorating the doll:
Light Blue ready to roll fondant: 1 box ( I used Cake Boss)
Shortening: as needed to knead the fondant.
Corn flour: as needed to dust the work surface.
White shimmer powder : 1 small box ( I used Wilton)
Water: 2 tbsp
Method:
For the cake:
Preheat the oven to 350 deg F.
Assemble the dome shaped cake pan as per instructions.Prepare the dome shaped cake pan & the two 9-inch round pans by spraying non-stick spray. Keep it aside.

Prepare the cake batter as per instructions on the cake box.

Pour the cake batter into the dome- shaped cake pan until 2/3 rds full. Do the same with the 9-inch round pan. Use the rest of the batter to make cupcakes.
Place the dome- shaped cake pan on the center rack of the oven and the round pan on the lower rack .Bake for 45-50 mins or until a skewer comes clean when inserted.If not done, bake for additional 5 mins and check again. Repeat this in 5 min intervals until the cake is done.

The round cake was done in 20-25 minutes.

I did the same thing with the sprinkle-vanilla cake.

Remove the cakes out of the oven and let it cool on the cooling rack for 15-30 mins.

Level all the cakes and keep aside to cool completely before layering and icing them.


Insert the doll in the cakes and cut out a circle from the center of the cakes so that the doll can fit in there.

The Icing:
When the cake is cooling prepare the icing.
Take the butter and the vanilla essence in a bowl, whip it until soft peaks are seen.

Now add sifted confectioners sugar little by little and mix until well combined.
Add the water and mix well. Icing should be of medium consistency.
Add a few drops of Wilton royal blue gel color to get the desired blue color.
Preparing the doll:
Take off the doll's costume & shoes and wrap the doll in protective plastic wrap. Insert the doll into the cake until her hips.Remove the doll out and keep aside.

Putting the cake together:
Place a thin layer of icing on one side of the cake board .The icing will keep the cake in place and prevent it from moving.
When cooled, invert the round chocolate cake onto the cake board. Layer it with 1 inch thick layer of icing of your choice.

I used blue vanilla icing that I had leftover after frosting the cupcakes.Place the vanilla-sprinkle cake on top of the chocolate cake. Apply one inch layer of icing on this. Now place the dome- shaped cake on top of this.

Using a spatula, apply a 1/2 inch thick coating of icing around the cake.

I carved the cake in the front to make it look flat in the front and the dress bellowing in the back.

Keep it in the refrigerator for 3-4 hours or overnight.

The fondant dress:
When the icing is being set in the fridge, prepare the fondant cover.
Knead the blue fondant in portions using a little shortening, until soft and pliable. Combine the small portions together to make it into one large ball.

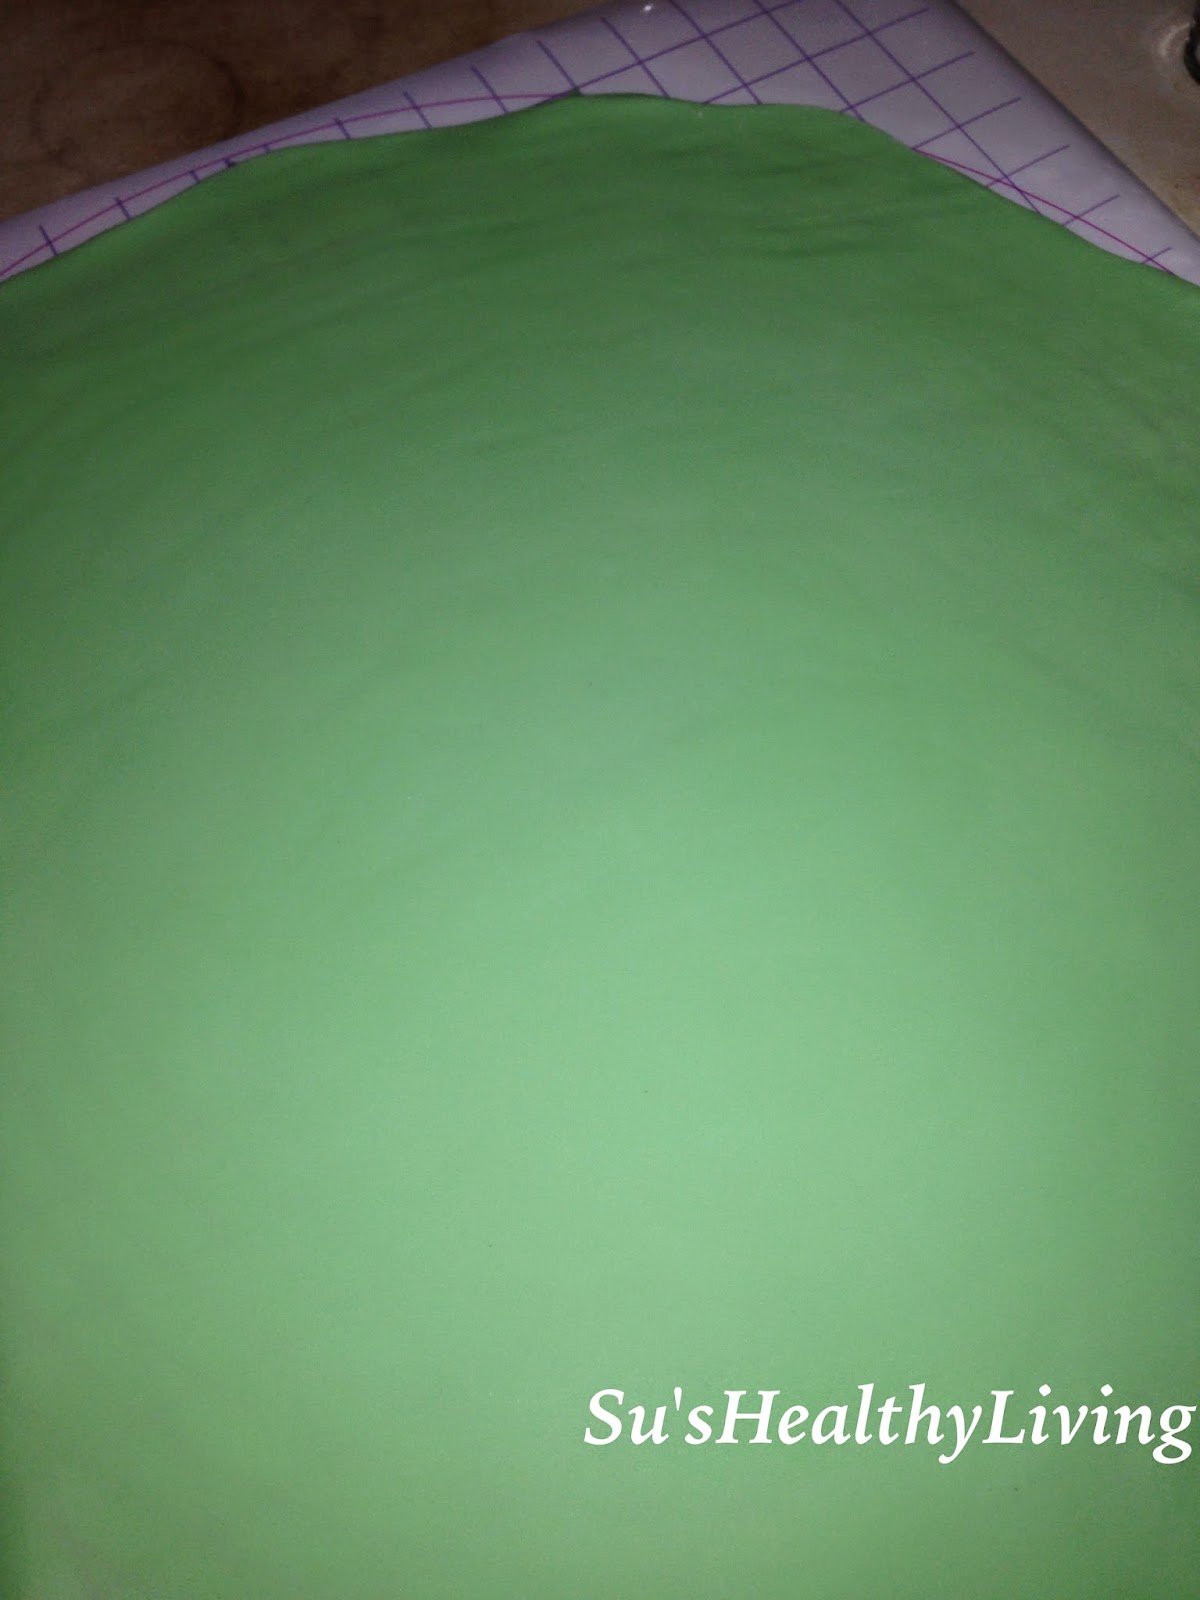
Apply cornstarch on the work surface( I used roll and cut fondant mat) and roll the fondant to 30-35 inches circle.

Once the fondant has been rolled out and ready, take the cake outside the refrigerator.

Using a pastry brush, gently brush water on the buttercream frosting. This helps the fondant to stick to the frosting.
Using the rolling pin roll the fondant on to the rolling pin.

Place the fondant on the cake and slowly and carefully unroll it, covering the cake as you unroll it.

Arrange the pleats on the dress to your liking. Cut off the excess fondant at the base using a paring knife.
Now stick the Elsa doll back into the cake until her waist.
Using the excess fondant, roll out a rectangle and make it into a sash. Wrap this sash around Elsa's waist.
Mix 1 tsp white sparkle powder in 2 tsp water . With a thin paint brush paint thin lines on her dress along the pleats.
Dust some sparkle powder on her dress.
Attach the snowflakes made before hand from royal icing to the dress as you please.
Apply a thick layer of royal icing on the cake board along the hem of her dress to depict snow. Sorry, I didn't have time to take pictures for these last stages as I was rushing to get the cake done!

I made a "happy birthday Kavya" banner on a card-paper and placed it on her raised hands.
Voila ! Elsa is ready to take center-stage!
Enjoy! I am bringing this cake to my dear friends at Angie's Fiesta Friday! My good friend Jhuls@ the not so creative cook and Mila@milkandbun are co-hosting this weekend. If you haven't been to Fiesta Friday yet, you definitely should! They are such a awesome group of wonderful people!
For the snowflake cupcakes:

I made 3 1/2 dozen cupcakes: 2 1/2 dozen chocolate and 1 dozen sprinkle-vanilla from the batter used to make the 9-inch cakes. I used half for the 9-inch cakes and half for the cupcake.
I lined the muffin-tin with foil cup-cake liners, filled them halfway and baked them at 350 degrees for 10-12 minutes.
Let them cool completely.

Then frost the cake with blue-color frosting using a spatula. Place a snowflake on top of each cupcake!

For the snowflake:
Prepare Royal icing.

Using Wilton tip 3 pipe out snowflakes as desired onto a wax paper. Let it dry overnight.
Royal icing snowflakes can be make weeks ahead and stored in a airtight container in a cool place ( not in the fridge).
To keep the skin in your hands soft, use gloves while doing dishes. Also moisturize your hands immediately after drying them.
Every noble work is at first impossible. Thomas Carlyle
When the cake is cooling prepare the icing.
Take the butter and the vanilla essence in a bowl, whip it until soft peaks are seen.
Now add sifted confectioners sugar little by little and mix until well combined.
Add the water and mix well. Icing should be of medium consistency.
Add a few drops of Wilton royal blue gel color to get the desired blue color.
Preparing the doll:
Take off the doll's costume & shoes and wrap the doll in protective plastic wrap. Insert the doll into the cake until her hips.Remove the doll out and keep aside.
Putting the cake together:
Place a thin layer of icing on one side of the cake board .The icing will keep the cake in place and prevent it from moving.
When cooled, invert the round chocolate cake onto the cake board. Layer it with 1 inch thick layer of icing of your choice.
I used blue vanilla icing that I had leftover after frosting the cupcakes.Place the vanilla-sprinkle cake on top of the chocolate cake. Apply one inch layer of icing on this. Now place the dome- shaped cake on top of this.
Using a spatula, apply a 1/2 inch thick coating of icing around the cake.
I carved the cake in the front to make it look flat in the front and the dress bellowing in the back.
Keep it in the refrigerator for 3-4 hours or overnight.
The fondant dress:
When the icing is being set in the fridge, prepare the fondant cover.
Knead the blue fondant in portions using a little shortening, until soft and pliable. Combine the small portions together to make it into one large ball.
Apply cornstarch on the work surface( I used roll and cut fondant mat) and roll the fondant to 30-35 inches circle.
Once the fondant has been rolled out and ready, take the cake outside the refrigerator.
Using a pastry brush, gently brush water on the buttercream frosting. This helps the fondant to stick to the frosting.
Using the rolling pin roll the fondant on to the rolling pin.
Place the fondant on the cake and slowly and carefully unroll it, covering the cake as you unroll it.
Arrange the pleats on the dress to your liking. Cut off the excess fondant at the base using a paring knife.
Now stick the Elsa doll back into the cake until her waist.
Using the excess fondant, roll out a rectangle and make it into a sash. Wrap this sash around Elsa's waist.
Mix 1 tsp white sparkle powder in 2 tsp water . With a thin paint brush paint thin lines on her dress along the pleats.
Dust some sparkle powder on her dress.
Attach the snowflakes made before hand from royal icing to the dress as you please.
Apply a thick layer of royal icing on the cake board along the hem of her dress to depict snow. Sorry, I didn't have time to take pictures for these last stages as I was rushing to get the cake done!
I made a "happy birthday Kavya" banner on a card-paper and placed it on her raised hands.
Voila ! Elsa is ready to take center-stage!
Enjoy! I am bringing this cake to my dear friends at Angie's Fiesta Friday! My good friend Jhuls@ the not so creative cook and Mila@milkandbun are co-hosting this weekend. If you haven't been to Fiesta Friday yet, you definitely should! They are such a awesome group of wonderful people!
For the snowflake cupcakes:
I made 3 1/2 dozen cupcakes: 2 1/2 dozen chocolate and 1 dozen sprinkle-vanilla from the batter used to make the 9-inch cakes. I used half for the 9-inch cakes and half for the cupcake.
I lined the muffin-tin with foil cup-cake liners, filled them halfway and baked them at 350 degrees for 10-12 minutes.
Let them cool completely.
Then frost the cake with blue-color frosting using a spatula. Place a snowflake on top of each cupcake!
For the snowflake:
Prepare Royal icing.
Using Wilton tip 3 pipe out snowflakes as desired onto a wax paper. Let it dry overnight.
Cooking made easy:
Royal icing snowflakes can be make weeks ahead and stored in a airtight container in a cool place ( not in the fridge).
Tip for healthy living:
To keep the skin in your hands soft, use gloves while doing dishes. Also moisturize your hands immediately after drying them.
Food for thought:
Every noble work is at first impossible. Thomas Carlyle


.JPG)


.JPG)
.JPG)